


Switch Springs Explained: Beginner's Guide to Custom Keyboard Modding
Guides & Resources
Jan 26 2024
Table of content
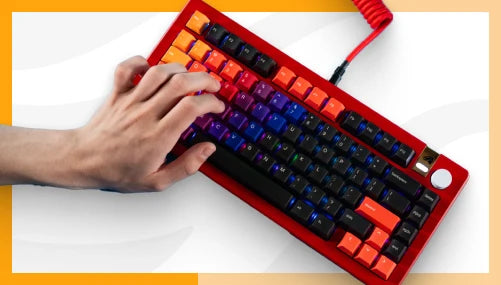
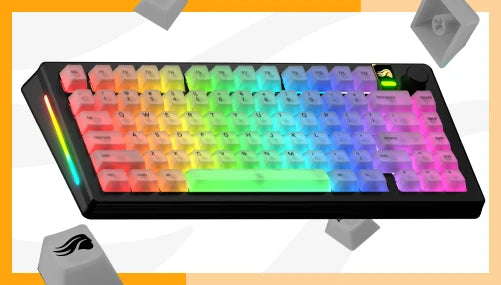
The beauty of the keyboard customization hobby is that it allows you to tailor every aspect of your typing experience. From stabilizers to prevent rattling, switches for a distinct typing feel, and custom keycaps for the aesthetic touch– it's all about making your keyboard uniquely yours.
At the heart of mechanical keyboards are switch springs, vital for defining the keyboard's feel. Their build and weight significantly influence your typing or gaming experience. Whether you're aiming for speed in gaming or comfort in typing, selecting the right spring weight can enhance your interaction with your keyboard.

Why Upgrade Your Switch Springs?
1. Reduce Typing Fatigue: Lighter springs can ease the strain on your hands during long gaming sessions or extensive typing, providing a more comfortable experience.
2. Faster Responsiveness: For gamers, lighter springs mean quicker key presses, especially useful for frequent commands. Adjusting key clusters like WASD can lead to more agile movements in-game.
3. Avoid Typing Errors: Heavier springs help prevent accidental keystrokes, adding precision to your gaming and typing, crucial for consistent performance.
4. Improve Typing Experience: Lower quality switches may produce a “pinging” sound and/or “crunching” feel while typing. Opting for premium switches made with high-quality stainless steel ensure each press sounds and feels reliably clean and smooth.
5. Longevity: Uncoated switches are more susceptible to corrosion over time, which could negatively affect their performance. Switching to nickel coated springs prevent corrosion, and ensure peak performance long after installation.
Understanding Switch Springs Weight and Their Impact on Keyboard Performance
Switch springs are primarily characterized by their 'bottom out' or 'actuation' weight. The 'bottom out' weight is the force needed to press the key all the way down, while 'actuation' is the force at the point the key registers a press. While actuation can vary based on other switch components, 'bottom out' weight is a more consistent measure and thus more reliable for comparison. By replacing the stock springs with higher-quality springs of a specific weights, you can fine-tune how much force is required to press a key to meet your comfort and/or performance preferences.
As is the case with all things in the mechanical keyboard hobby, there isn’t a “better” choice, but rather options that align more with your taste and needs. Keep reading to get a deeper understanding of how to choose the right switch springs for you, and how to install them.
Mechanical Switch Springs Key Terms

- Spring Weight: Measures how much force (g) is required to fully compress the spring. Not the physical ‘weight’ of the switch itself.
- Actuation Force: The amount of force needed to press the switch far enough to register an input. A higher spring weight will increase actuation force, lower will decrease. Spring weight does not equal actuation force, as it can vary from switch to switch.
- Bottom-Out Force: The amount of force needed to press the switch all the way to the bottom of its travel. A higher spring weight will increase bottom out force, lower will decrease. Spring weight does not equal bottom-out force, as it can vary from switch to switch.
- Linear Force Curve: Steadily increases in pressure as the switch spring is pressed down.
- Spring Ping: A faint, high-pitched noise produced by low-quality springs while typing.
- Spring Crunching: A gritty, ‘crunchy’ feel produced by low-quality springs while typing.
Switch Springs by Weight

Heavy Springs (80g+): The heavier the switch spring, the higher press resistance. The benefit of higher resistances is that the prevents typos while cushioning each keystroke for a more comfortable typing experience. Ideal for typists who prefer a firmer touch.
Medium Springs (60-70g): Offering a balance between speed and resistance, these are great for users who switch between gaming and productivity tasks.
Light Springs (50-60g): Gamers tend to favor these for their quick actuation, ensuring a rapid response while still maintaining enough resistance to prevent accidental inputs.
Super Light Springs (30-40g): The choice for experienced gamers, these allow for lightning-fast inputs and reduce fatigue during extended play.
Understanding Switch Springs Types
Basic Switch Springs: The standard in most keyboards, these linear springs follow Hooke's Law, providing a consistent increase in force as they compress. They vary in materials and dimensions, but share a common helical design and are the go-to choice for many.
Multi-stage Switch Springs: Similar in their cylindrical shape to the basic spring, these springs have differing thread patterns throughout their body. This design results in a progressive feel, where the force increases more as the key is pressed down, unlike the constant force in basic springs. They add a tactile dimension to typing, making each keystroke a more distinct experience.
Conical Switch Springs: The least common but interesting variant, these springs change in coil diameter, providing an even more progressive resistance than multi-stage springs. They're a niche choice, but offer a unique feel.
How to Install Switch Springs
1. Ensure Safety: Unplug the keyboard or ensure the keyboard PCB isn't powered.
2. Remove Keycap: Use a keycap puller to gently remove the keycap from the switch you want to open.
3. Remove Switch: Use a switch puller to gently, yet firmly, remove the switch from the hotswap socket.
4. Identify the Latches: Look at the top and bottom of the switch to see the small latches that hold it together.
5. Position the Switch Opener: Align the prongs or cutouts of the switch opener with the latches on the switch.
6. If using a Glorious Switch Opener, the 6-pronged side opens most switches, while the 4-pronged side opens Kailh-branded switches.
7. Press Down: Firmly press the switch into the opener. The prongs/cutouts should push the latches inward.
8. Gently Separate: Once the latches are released, carefully separate the top housing from the switch.
9. Access the Internals: You can now access the stem, spring, and other internal components of the switch.
10. Replace the Spring: Simply remove the current spring, and drop the replacement spring in place.
11. Close the Switch: Put the stem back on the spring, align the latches, and press the switch closed with a click. Done!

How to Lube Switch Springs
Lubing your switch springs can significantly improve the feel and sound of your keyboard. We recommend a clean workspace and using the right tools to help you achieve your desired result. The Glorious Lube Bundle includes a lube station to keep all of your disassembled switches in place, a switch puller and opener, a keycap puller, lube, and a brush. The essentials, however, are just the switch opener, the lube, and the brush. Here's how you do it:
1. Prepare Your Workspace: Clean and organized, with all tools within reach.
2.Disassemble the Switch: Follow the instructions above for opening the switch.
3. Apply Lube: Use the brush to apply a thin, even coat of lube to the spring. Careful not to over-apply.
4. Reassemble: Carefully put the switch back together and reinstall it.
5. Test: Ensure everything works smoothly and adjust if necessary.
Bottom Line
As you delve into the world of custom keyboards, remember that experimentation is key. With a vast array of options, from switch springs to keycaps, you're on a journey to create a typing experience that's uniquely yours. Whether you're a gamer, typist, or both, finding your ideal setup can significantly enhance your daily interactions with your computer. So, start exploring and enjoy the journey to your perfect keyboard!