

Build Your Own Keyboard with the Glorious Gaming Configurator
Resources
May 19 2023
Building your own keyboard might sounds like a daunting or expensive endeavor. But what if we told you that it doesn’t have to be either of those things? With the right keyboard kit and clear instructions, it can be both easy and affordable. In this blog, we’ll take a deep dive at how to pick the right accessories, each step of the process, and how to pick the gear that fits your budget.
So whether you’re an aspiring or seasoned keyboard enthusiast or just someone curious about the hobby, look no further than the Glorious Configurator, a custom keyboard builder. At Glorious, you can explore a wide range of options and accessories available, so you can build your own keyboard that perfectly suits your needs and preferences.
If you’re in the market for a beginner board or a budget custom keyboard, we recommend starting with a GMMK 2. If you’re interested in getting the best of the best, and diving straight into a premium, enthusiast-grade keyboard, you’ll love the GMMK PRO.
From Jan. 18 to Feb. 12, 2024,Glorious is hosting the HIT RESET SALES EVENT, where you can save up to 33% on custom keyboards. This is a great opportunity to build your own keyboard at a third of the price. See all the details of the sales here.

Table of content
Benefits of Building Your Own Custom Keyboard
Building your own custom keyboard using the Glorious Keyboard Configurator brings a whole host of advantages. First, it allows you to create a keyboard that is uniquely yours. From the layout to the switches and keycaps, every aspect can be tailored to your preferences, ensuring optimal comfort and typing pleasure.
Custom keyboards are a form of self-expression. Your keyboard becomes a reflection of your personality, style, and taste. Whether you prefer a sleek and minimalistic design or a vibrant and eye-catching setup, building your own mechanical keyboard offers endless possibilities to showcase your individuality.
Lastly, building your own keyboard is just plain awesome. It's a rewarding and satisfying experience to assemble a keyboard that perfectly matches your needs. The Glorious Keyboard Builder provides you with the tools and resources necessary, including YouTube video tutorials, to guide you through the assembly process effortlessly.
The Glorious Keyboard Builder empowers you to create a keyboard that is not only functional but also a work of art. Unleash your creativity, express yourself, and elevate your typing game with a keyboard that is uniquely yours.
Building Your Keyboard with a GMMK 2

When you choose the Glorious GMMK 2 Keyboard Builder, you embark on a journey of personalization. What sets the GMMK 2 apathy is that it still boasts the same outstanding gaming performance and customizability as the PRO, but at a more economical price. This board is simply more lightweight and features more entry-level components. It still raises the bar, not the price. Definitely great value for your money.
Note: all accessories, including the mechanical switches and keycaps, are completely optional. You are free to use third-party accessories so long as they are compatible. It is also important to note that when buying a custom keyboard from the configuration, you will need to assemble it yourself. Below, we include step-by-step video tutorials.
Without further ado, let's walk through the steps to create your dream keyboard:

Step 1: Choose the Style
Begin by selecting the style of your board from two size options: Compact TKL (65% Keyboard Layout) or the Full Size (96% Keyboard Layout). Next, choose your color (Black, White, or Pink) Ice. Now it’s on to the next step!
Step 2: Select Your Switches
We offer our Glorious Panda Tactile, Raptor Clicky and Lynx Linear, as well as some third party switches. Or, you can opt out and not select any switches by simply hitting “Next”. However, not to boast, but our Panda Switches have been voted the best tactile switches in 2023 by both the Gaming Setup and Switch and Click– so we definitely recommend checking them out.
Step 3: Pick Your Keycaps
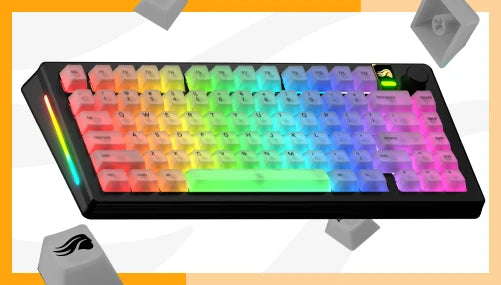
Enhance the look and feel of your keyboard with the perfect keycaps. Glorious offers a variety of options, including a striking PBT keycap collection, Polychroma RGB translucent keycaps, as well as the pudding-style Aura keycaps for RGB illumination, and more. Immerse yourself in the world of endless customization possibilities.
Step 4: Choose a Coiled Cable
Feeling like adding a stylish touch to your board? Why not add a Glorious Coiled Cable, which comes in unique colorways that excellently match the aesthetic of any board and keycap set. Joining the coiled and straight sections of the cable is a heavy-duty, metal, 5-pin aviator.
Step 5 & 6: Tools and Extras
In step 5, you have the option to purchase tools to modify the sound and feel of your board, including, lubricating tools and switch openers. In the final step, you can add a comfortable wrist rest or a cleaning kit!
Please be sure to carefully review the summary of your order so you don’t accidentally purchase something you didn’t intend to or forget an item you wanted to buy.
How to Build Your Board with GMMK PRO

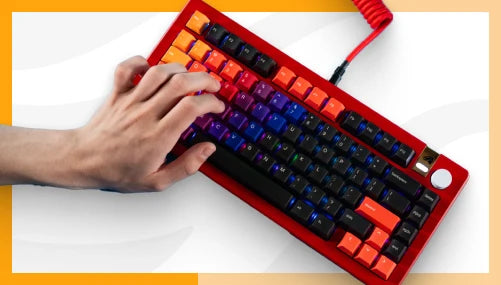
If you’re reading this, know that you are making an excellent choice. The GMMK PRO is a fan favorite within the keyboard enthusiast community. This custom keyboard has a full-body aluminum build, which gives it a satisfying heavy weight. It truly feels premium before you even use it, and is packed with enthusiast-grade features and components. Thanks to its 75% keyboard layout, it provides you with a streamlined layout that keeps essential keys intact while maximizing desk space.
Note: all accessories, including the mechanical switches and keycaps, are completely optional. You are free to use third-party accessories so long as they are compatible. It is also important to note that when buying a custom keyboard from the configuration, you will need to assemble it yourself. Below, we include step-by-step video tutorials.

Step 1: Choose the Style
This step is easy-peasy. What’s your color preference? Black Slate or White Ice? Keep in mind, these are just the included default colors. In the step for Top Frames, you have a whole array of color options.
Step 2: Choose the Switch Plate
The next decision involves the switch plate. You can choose from the included high-quality aluminum plate at no extra cost. Optionally, you can take your acoustics to the next level with the sonically superior polycarbonate plate, or the premium-grade brass plate for an unparalleled typing experience.
Step 3: Select Your Switches
We offer our Glorious Panda Tactile, Raptor Clicky and Lynx Linear, as well as some third party switches. Keep in mind, you can opt out and not select any switches by simply hitting “Next”. However, not to boast, but our Panda Switches have been voted the best tactile switches in 2023 by both the Gaming Setup and Switch and Click– so we definitely recommend checking them out.
Step 4: Pick Your Keycaps
Enhance the look and feel of your keyboard with the perfect keycaps. Glorious offers a variety of options, including a striking PBT keycap collection, Polychroma RGB translucent keycaps, as well as the pudding-style Aura keycaps for RGB illumination, and more. Immerse yourself in the world of endless customization possibilities.
Step 5: Add a Colorful Top Frame
Bring a splash of color to your keyboard by opting for a different top frame. Choose from vibrant options like prism pink, aqua blue, forest green, and many more. Alternatively, you can stick with the included top frame for a classic look.
Step 6: Alternate Rotary Knob
Elevate your keyboard experience by adding a rotary knob. This optional accessory allows for quick and convenient volume control, and it comes in various colors to complement your setup. Swapping the knob is as easy as pulling off the current one and clicking on the new one—just seconds of effort.
Step 7: Choose a Coiled Cable
Feeling like adding a stylish touch to your board? Why not add a Glorious Coiled Cable, which comes in unique colorways that excellently match the aesthetic of any board and keycap set. Joining the coiled and straight sections of the cable is a heavy-duty, metal, 5-pin aviator.
Step 8 & 9: Tools and Extras
In step 5, you have the option to purchase tools to modify the sound and feel of your board, including, lubricating tools and switch openers. In the final step, you can add a comfortable wrist rest or a cleaning kit!
Please be sure to carefully review the summary of your order so you don’t accidentally purchase something you didn’t intend to or forget an item you wanted to buy.
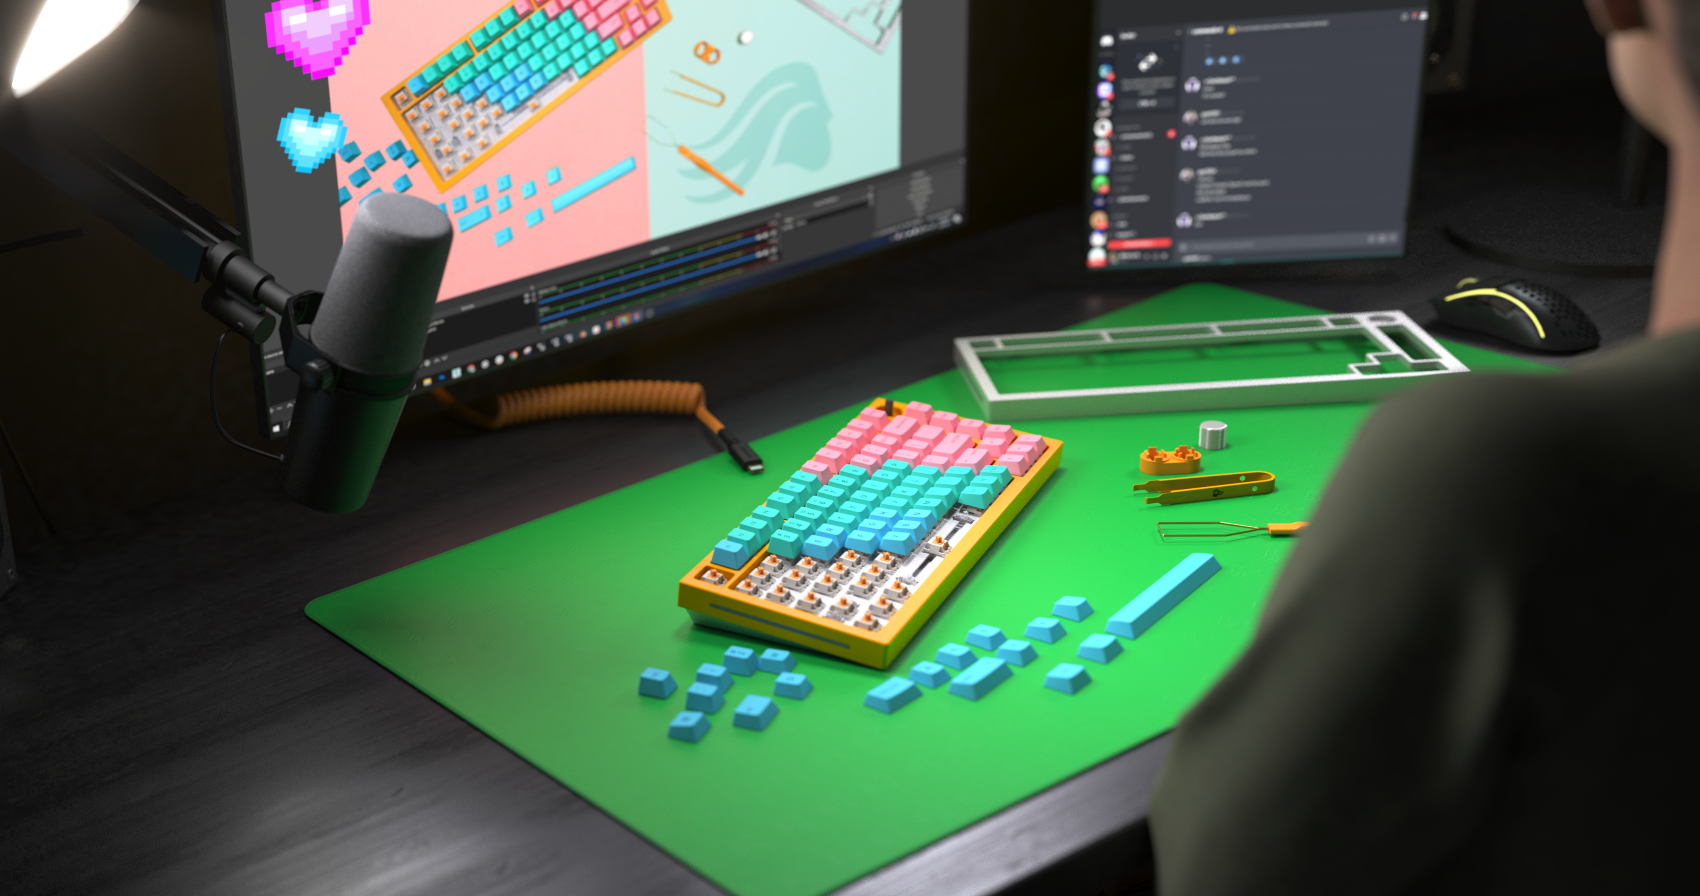
How to Build a Keyboard
When it comes to installing mechanical switches and keycaps, it's essential to be patient and do things with care.
Begin by placing the mechanical switches onto the sockets of the barebone keyboard, ensuring that the feet align with the sockets. Take your time and carefully press each switch onto the board, making sure they are securely seated. Next, install the keycaps by gently pressing each one onto its corresponding switch.
If you ever need to remove switches or keycaps, you must use the removal tools included with the keyboard. These tools help to prevent any accidental damage during the removal process.
If you purchase internal components such as stabilizers or a switch plate, it's recommended to refer to our How-To guides on our YouTube channel to learn how to disassemble your keyboard carefully.
Note: Click the three bars on the top right of the video below to see the playlist of how-to video guides.
FAQ
Can I make my own keyboard?
Yes, with the Glorious Configurator, a custom keyboard builder, you can make your own keyboard exactly the way you want. You can choose the keycaps, mechanical switches, the style, color, size, and all the accessories. Note, that components come disassembled and require simple assembly. Visit our YouTube channel to see how to put together.
Is it cheaper to build your own gaming keyboard?
Buying a pre-built keyboard and a custom-made keyboard can have similar prices. The benefit of building your own Glorious keyboard is that if one component stops working, you only need to replace that single component. Whereas with other gaming keyboards, you need to replace the whole board. Therefore, a keyboard you make yourself is a better investment.
What do you need to build a keyboard?
All you need is a barebone base, mechanical switches, and keycaps. That's it! The rest of the accessories are optional.
How expensive is making a custom keyboard?
Making your own custom keyboard can cost anywhere from $100 to $400, or more. It all depends on the quality of materials that you choose.