

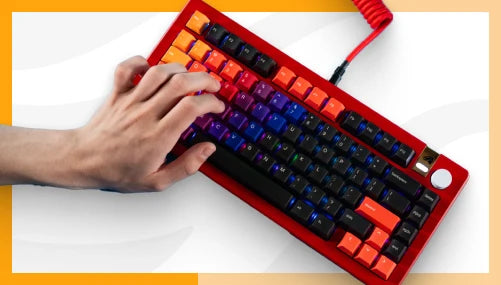
The benefit of using a modular, or hotswap, mechanical keyboard is the ability to swap out your switches easily. Trying out new switches is an exciting experience, and we highly recommend testing out a wide variety of linear, tactile, and clicky options.
How to Replace Switches on a Mechanical Keyboard
Guides & Resources
Aug 17 2021
Equipment Needed
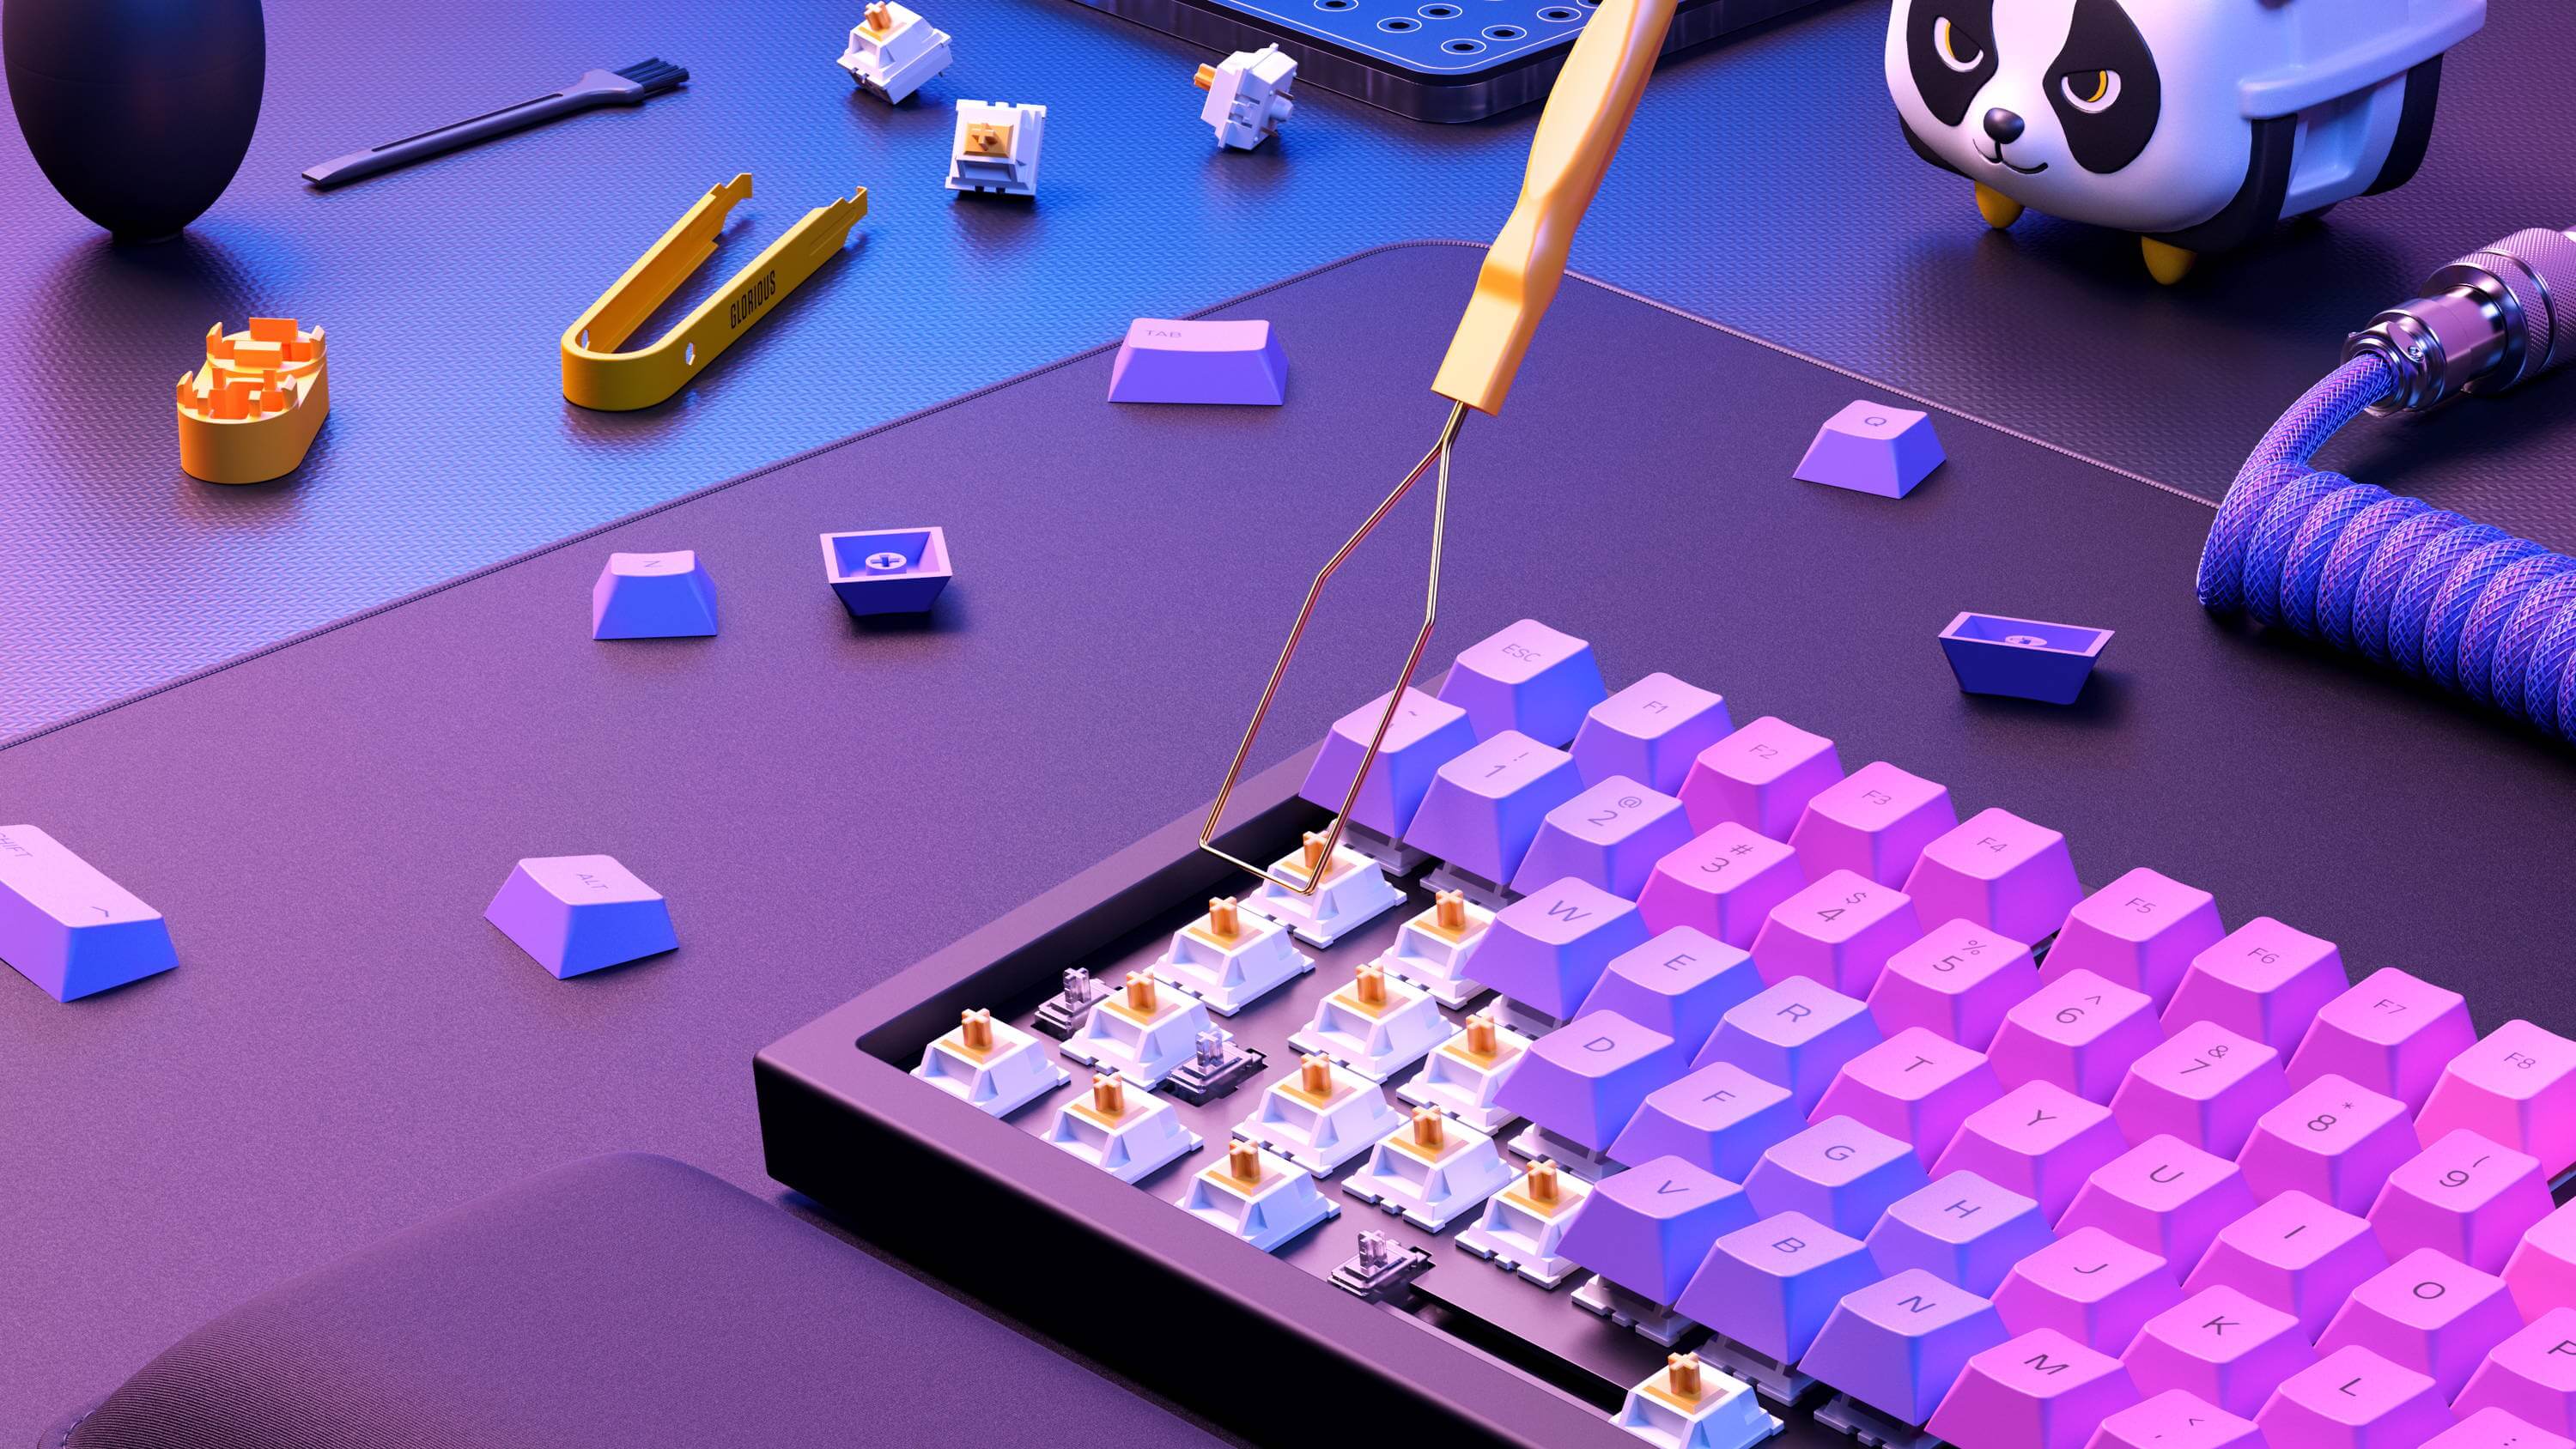
But how do you replace your switches? First, you will need two tools: a keycap puller and a switch puller.
Keycap pullers allow you to safely pull off any installed keycaps with minimal risk of cracking. Check out our Glorious Ergonomic Keycap Puller if you are looking for a comfortable and efficient puller!
Switch pullers let you safely eject a mechanical switch from its modular PCB without damaging either.
Additionally, you can use small dishes, bowls, or other containers to organize removed switches and keycaps.
Removing the Keycap
When removing keycaps and switches, it is essential to go slow. Rushing may lead to unwanted damage to your keyboard and its components.
1) Grab your switch puller, and place it over the keycap you wish to remove. Apply pressure to the puller as its arms wrap around the keycap, eventually ending up underneath it.
Note: For longer keycaps, place the legs of puller at the top and bottom of the keycap rather than the left and right sides.
2) Once secured, slowly pull the keycap puller up and away from the keyboard.
Note: Don't twist or pull at an angle to prevent damage to the switch or keycap.
3) Place the keycap to the side.
Note: Try to keep them organized if you plan to remove multiple caps to ensure you don't lose track of their placement on the board.
Removing the Switch
1) Take your switch puller and place its legs on either side of the bare switch.
Note: There should be tiny grooves on the left and right sides of the switch that your puller can grab.
2) While gently squeezing the puller for tension, lift the switch up and away from the keyboard.
Note: Some switches are easier to remove than others.
3) Place the switch to the side or in a container for safe storage.
Installing the New Switch
1) Take the new switch you would like to install on the board and take a look at its underside. Ensure that the pins correctly line up with the holes on the hotswap socket.
2) After lining up the pins and holes, gently push the switch into the socket. Don't apply too much pressure when installing.
Note: If the switch is not going in on the first try, don't put more pressure. Forcing it could lead to bent pins. Line them up and try again.
Installing the Keycap
1) Take the keycap you want to install, and take a look at its underside. You should notice a small "+" shaped slot.
2) Line this slot up with the "+" shaped stem on the keycap. Once aligned, gently push the keycap onto the switch until secured.
Congratulations! You have successfully replaced a mechanical keyboard switch on a modular board. We hope you found this guide simple and intuitive.
If you plan to do this process for the entire keyboard, the best method would be to remove all keycaps first before removing all switches. This saves time switching between the two tools and helps you stay in a rhythm!
In the comments section, let us know what tips you have found work best for removing switches - we would love to hear from you!