Lubing switches is a rewarding experience that we encourage every keyboard owner to try. However, like any process, some common mistakes can be made that may sour the experience. We are here to give you five common mistakes that may happen during the switch lubing process, so you can pay close attention to avoid them and get the most out of the experience.

5 Mistakes to Avoid While Lubing Your Switches
Lubing mechanical keyboard switches can seem like a difficult task, but avoiding these common mistakes makes it an enjoyable, rewarding experience.
Guides & Resources
Jun 11 2021
1. Overlubing
Applying lubricant to switches can significantly improve their sound and feel when done correctly. However, similar to paint, it is better to apply too little than too much on a first pass. If you are new to lubing, we recommend starting with a light application, closing up the switch, and testing it out on your board before continuing. Overlubing can make switches feel mushy and unresponsive. You can always wipe away accumulated lube, but this only adds precious time to an already time-intensive project.
2. USING THE WRONG LUBE
The unwritten rule regarding lube is that thicker offerings like 205g0 are better for linear switches, while thinner lubes like Tribosys 3203 works well with tactile and clicky. The reasoning for this recommendation is that a thicker lube may impact the tactile feedback that the latter switches provide. For a safe middle-ground, we recommend going with our proprietary G-Lube for all switch and stabilizer needs. The premium formula in G-Lube ensures your linear switches are buttery smooth, and your tactiles still deliver that bump you desire.
3. Lost parts
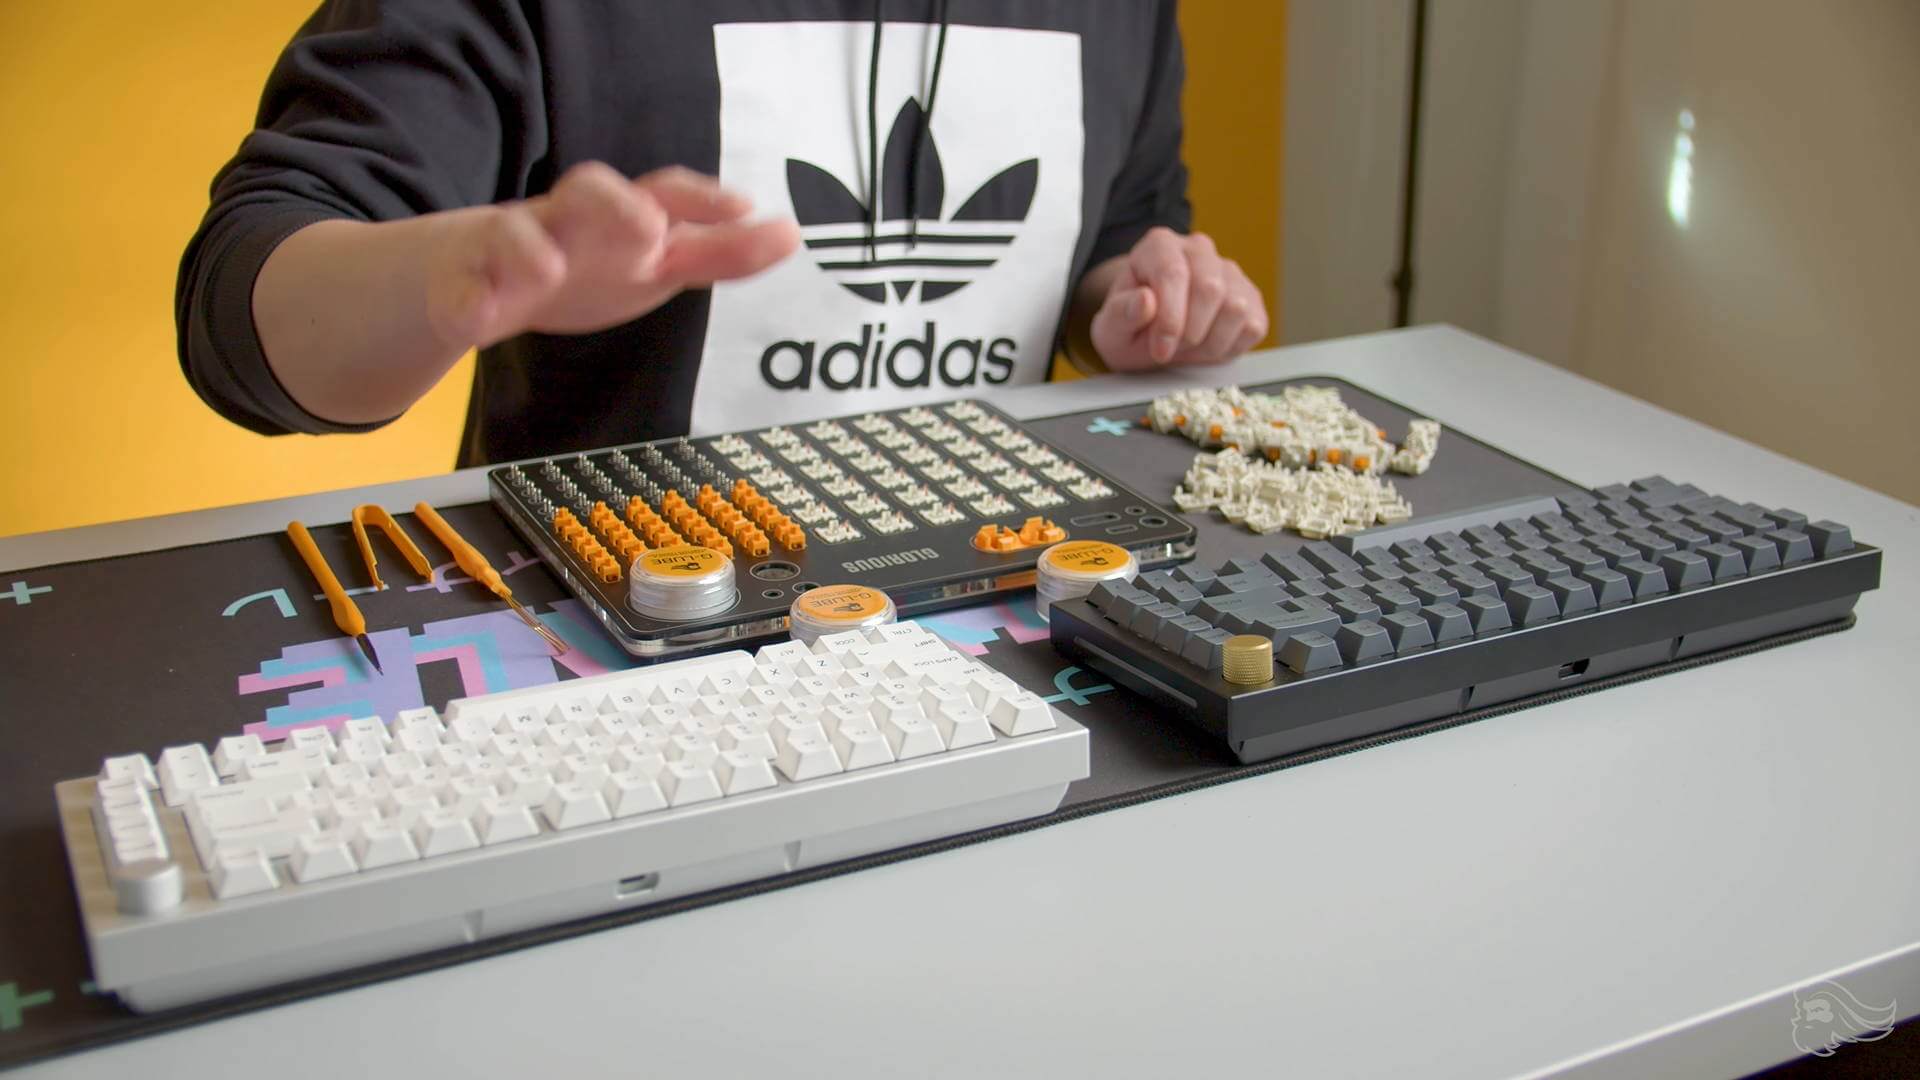
When beginning the lubrication process, we recommend carefully organizing your workstation not to lose valuable switch components. Similar to Legos, switch parts can quickly and easily scatter all over the place once the hard part begins, which can be incredibly frustrating during such a labor-intensive project. To mitigate the mess, check out our carefully designed Glorious Lube Station. It securely keeps all your switches, tools, and lube in one convenient place. Take the frustration out of lubing with this handy holder.
4. IMPROPER TOOLS
Speaking of tools, choosing the right ones are essential before beginning the lubrication process. While it can be easy to go out into the garage and grab a screwdriver to open switches and your mom's paintbrushes to apply the lube, chances are these solutions will only make things harder for you. We offer an arsenal of practical, carefully designed tools to help you efficiently get the job done with minimal hassle. From switch openers to fine brushes, we have everything a true switch modder needs.
5. PUSHING THROUGH IT
Listen, we have all been there. You just want to get it done already. You took the time to open the switches, get your tools all ready, and choose the perfect Japanese Jazz playlist. However, your hands are tired, so much left to do, and dinner is almost ready. TAKE A BREAK. Get up, eat some food, use the bathroom, and grab some water. The switches are not going anywhere. There is no quicker way to ruin a fun hobby than not savoring it.
WRAPPING UP
We hope that this article gave you some valuable tips regarding the switch lubing process, and we look forward to reading your stories and hearing your sound tests online. If you feel like you need more information, there are tons of tutorials online that will guide you through step-by-step. Lubing is a relaxing, gratifying process when you know what you are doing and take time doing it. Let us know in the comments below if you have any tips for newbies in the hobby that helped you out when first getting started!


